Showing posts with label Finish. Show all posts

Monday, September 30, 2013

Lime, Minkee, Love, and a Finish


I love Minkee. 

I also love mixing things up a little :)
Of course I couldn't leave it at just 11" squares. I used the pattern I tutorial'd here with the MSQC
I love this pattern and the quilt all Minkee'd up is amazing! I've cuddled under it with almost everyone of my five children :) not all at once but I could have.
It's 3 packs of 20 - 11" squares plus borders to make a big double bed sized quilt. It's glorious :)

I loved binding it, my little guy spent the morning cuddled under it as I worked, and now it's super easy to find an excuse to go check on my daughter and of course sit on her bed... and pet it. 

Its a happy quilt, who else out there loves Minkee? 
Raise your hand! 

Oooo, Me! Me!

Monday, March 14, 2011

30 something and then some!

Hey, so, I'm all excited I stayed up late the other night and finished some projects! If you follow my twitter account you know I was off at the MSQC for the Friday night sew on the fourth! Sew much fun!

I decided to make myself a table runner for my birthday on the second, it's been a little rough on me, *whisper* I turned 30 this year.
So, I decided I had to do all sorts of fun stuff :)
Naturally my mind went to this table runner by mels own place. But in my head it was called turning 30, hehe. I wasn't about to make myself 42 (the actual number of included triangles) so I left some of the triangles out and used 28 if you count the halves it puts us around 32 which qualifies "Turning 30" in my book!
It came out really cute!
AND... I took some of the left over triangles and made myself a little string of pennants for the back!
If you look close you can see I free motioned it using a version of my signature vines!

I love it and I loved using some of this Fandango by Kate Spain... Love her!


Wednesday, September 1, 2010

Back in the swing of things, from Far Far Away


So glad school is started and... not.
It's been crazy busy the last 2+ weeks since the start of school and just before it :) But I'm forcing myself back into my sewing (should that require forcing? I think not!) with a baby shower gift! I've been dying to use this Heather Ross Far Far Away fabric that I got at quilt market last fall! And since my wonderful friend had a beautiful baby girl I was reveling in the perfect moment and put this together yesterday!

I love the fairy tale images Heather created! I really want to get some Far Far Away 2 I have a friend with some in home dec weight... aah! It's so pretty :D
It's a changing pad so of course I had to give it something soft and fluffy for the backing!

I've got a boy one I'm finishing up for my etsy shop and then I'll have to see about finding some more minky and chenille backing fabric!
*thinking in your best fairytale accent*
Alas, a girl's work is never done!
Fair thee well my good friends. I wish thee much joy and sewing! Or joy in sewing :) which ever comes first!


Saturday, July 10, 2010

Yay!!

I have never been so happy to be posting!
I've been working on this quilt for more than a year now. I made it last summer during my first, eye opening, self hosted, quilt along. Phew. and then it sat on my shelf. and sat some more till last month I decided I would finish it no matter what well that didn't inspire me as much as it should have and it still took me another month to finally finish it! The good thing about having a project on your machine that isn't getting done very quickly is that you get a lot of other things done!
I've rearranged bedrooms, and visited friends, and helped a friend clean out her art room, and more. All because the projects I wanted to sew on I couldn't because this was on the machine!
I'm thrilled to have it done though and I love the way it looks! I love the hidden cars and the trees and houses!
I even added a sun next to one of the smaller houses :D Can you find it? I'm excited to have something that my little boy will be able to play on and that my girls can have pretend barbie adventures with! I just hope they're as excited as I am! Oh well, I'll enjoy tracing the cobblestones while I eat popcorn if no one else does :D


Friday, December 11, 2009

On the 2nd Day of Christmas - 2 Monkey Belts

For our 2nd Day of Christmas we're making 2 Monkey belts! I'm finally breaking into my Anna Griffin fabric that I was thrilled to pick up at Market during sample spree! Look at the amazing colors! I love them! And hopefully my girls will love there stylin' new belts made from this fabulous stuff!
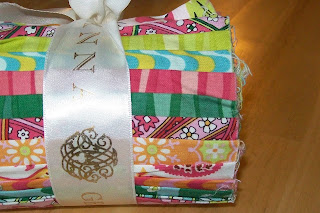

Here's our list of Materials (for one belt)~

1- 2.5"-5" strip cut to the WOF (width of fabric)
Meaning- Depending on how thick you want your belt to end up choose 1-5" strip, 2-2.5" strips, 1-2.5" strip, or 2- 1.5" strips, etc. Which means it doesn't really matter break out some leftover jelly roll or honey bun strips or whatever else you have lying around!
1-strip of heavy iron on interfacing cut to the same thickness
1- wide skirt or pants style hook should look something like this
Begin by choosing your main fabric and ironing the interfacing to the back of it.
Next grab the waist measurements or a pair of jeans belonging to the child your making this for.

Measure around the waist band.

My basic measurement is going to be 26" But I'm also making a belt for a child slightly smaller than this one so I going to start my hooks a little small and if I'm lucky they'll share :)
Instead of making loops or buttonholes or other closures to attach our hooks I'm making sturdy pleats. They won't look out of place regardless of which space her belt hooks and it's not gonna fray or cause other problems.
For the pleats start by pining about an inch before the full measurement. My daughters belt size was 26" so I'm placing my first pleat at approximately 25"
(I'm putting in quite a few pleats so I'm not to worried about seam allowances and exact placement. My goal is for it to adjustable and versatile... and low stress :) )
The first pins you'll place 1" apart after that place a pin every 1.5" I put in around 8 pins.

When you fold your pleats over fold the first so the pins meet, pulling the fabric toward the main length of the belt. Iron and pin the pleat in place.
As you continue folding your pleats over pull them so they come to the bottom edge of the pleat in front of it. You'll have to do this by feel.
(If you want pins to match up to, put one every 1", then 1/2", then 1", then 1/2", etc. and you'll pull up each pin that is 1" apart to meet the one in front of it... I didn't want to do that much work so I eyeballed it.)

When your through pining fold the belt in half (or sew together if using 2 pieces) and iron and stitch along the ironed center line. (this keeps the pleats in place for easier turning)

Fold right sides together and stitch closed along the edge open edge leaving the end near the pleats open for turning. (Mine is stitched twice because I decided to make it a little thinner, oops)
Turn your belt and finger press flat. Turn in the open end and stitch closed. Stitch 2 lines down the length of your belt leaving an approximate 1/2" space down the middle, so there's enough room for the hook to grab, backstitch the ends. If desired fussy cut a shape from excess interfaced fabric and sew to the front of the un-pleated side of the belt. Attach your hook to the inside of the belt under the fussy cut image.

And you're done! Great job!
Gift #2... check!

Enjoy your Merry Christmas!

Make some treats today! Hopefully, not for a school bake sale.
Enjoy!


Thursday, July 9, 2009

Pampered Pooch Project... complete!


So excited I finished a project! You know I get this way everytime. Finishing just feels so good!
I made this adorable changing pad so you could roll it up and stick it in your diaper bag with no problems!


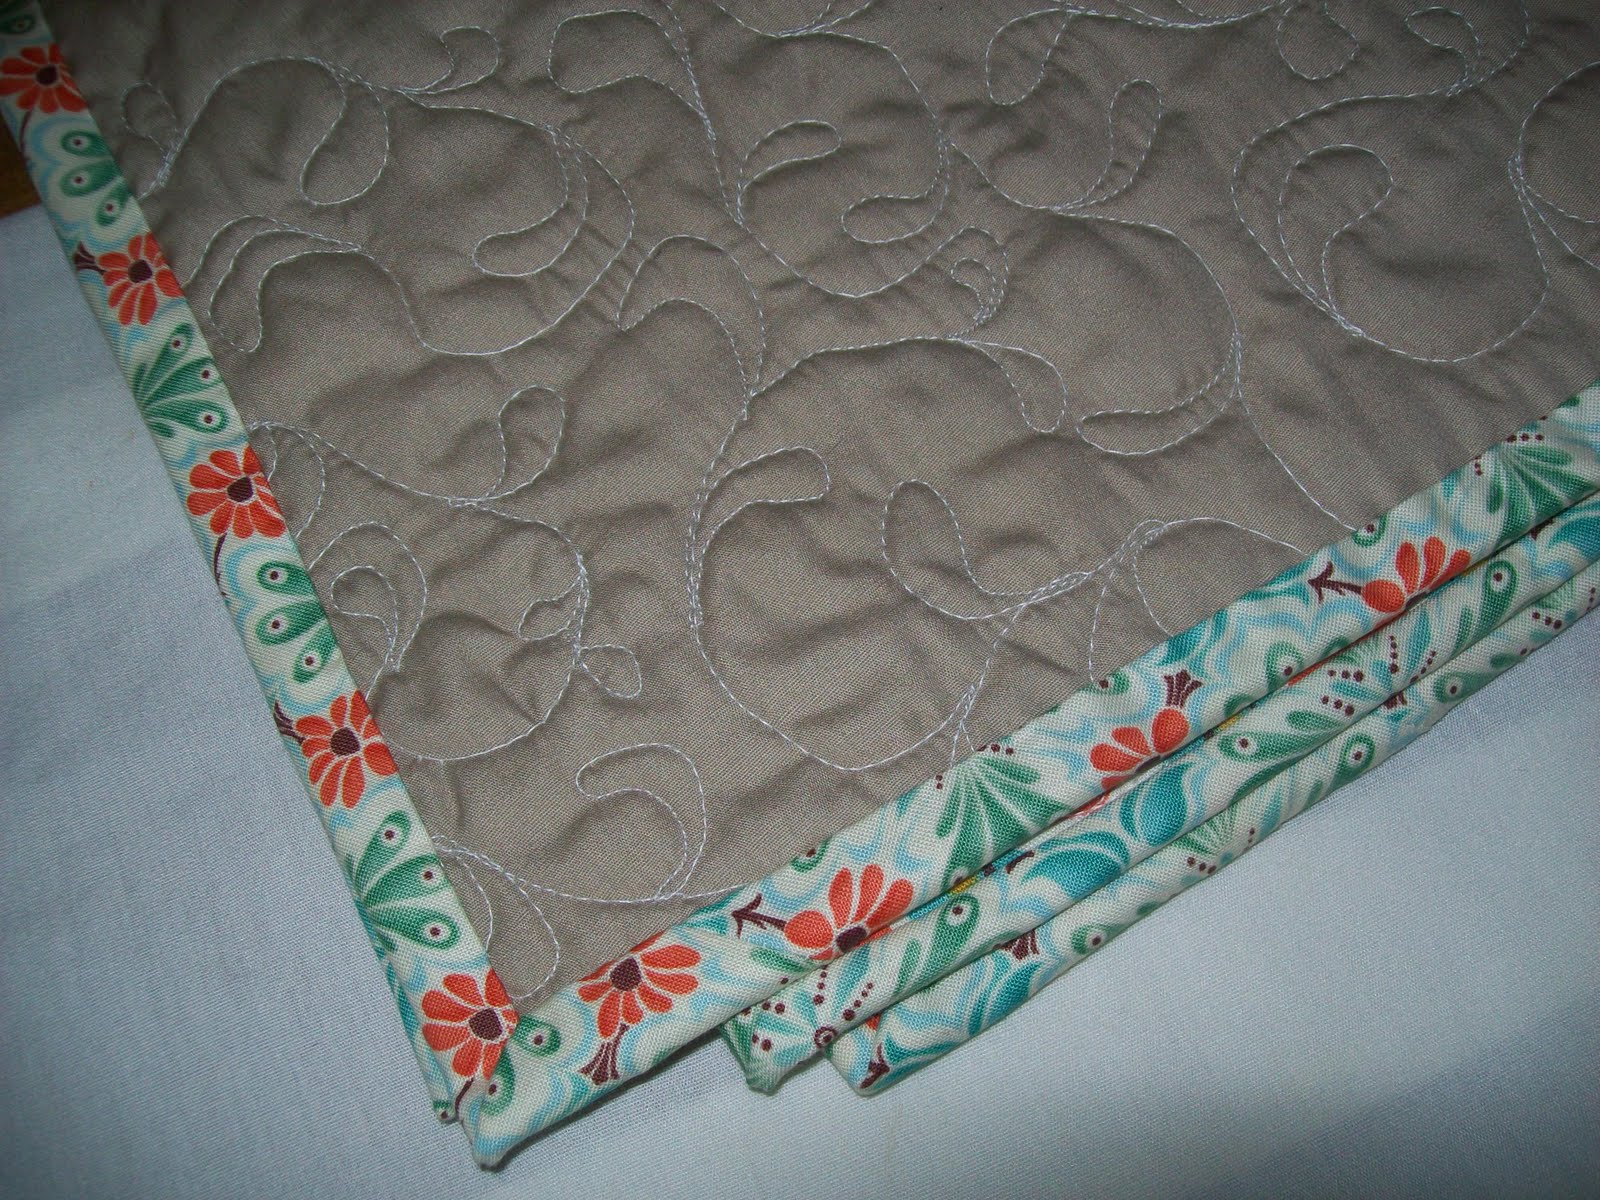
I decided to finish the edges in baby blue and a scrappy binding :) It's a happy little thing!


I love the back that is finished in a soft fabric with raised bumps across it. So cute!

Hope your having a great day!